
Wardrobe Installation Before and After Photos
A wardrobe installation before after comparison is rarely just about replacing old doors. The most satisfying change is usually hidden inside: the awkward corner that finally earns its keep, the rail that no longer sits too low, and the clothes that no longer spill into drawers, chairs or the spare room.
For homeowners, the difference is especially clear in bedrooms where freestanding furniture has never quite fitted. A fitted wardrobe is planned around the room as it is, including sloping ceilings, chimney breasts, alcoves, skirting boards and uneven walls. The finished look feels calmer because it belongs there.
What the “before” often looks like
The starting point is not always a messy room. Many bedrooms look perfectly serviceable at first glance, yet still waste a surprising amount of space. A standard wardrobe may leave a gap above it, a narrow void at one side, or an inaccessible corner behind an opening door. These areas gather dust rather than providing useful storage.
Older wardrobes can also make a room feel smaller than it is. Bulky units may stop short of the ceiling, create broken lines across one wall, and compete with the rest of the furniture. In a box room, that extra visual clutter matters. In a main bedroom, it can make getting ready in the morning more frustrating than it needs to be.
Then there is the internal layout. One long hanging rail is simple, but it is rarely the best use of a full-height wardrobe. Shirts, jackets and trousers need far less hanging height than dresses or long coats. Without shelves, drawers and dedicated compartments, valuable vertical space disappears.
Wardrobe installation before after: where the change happens
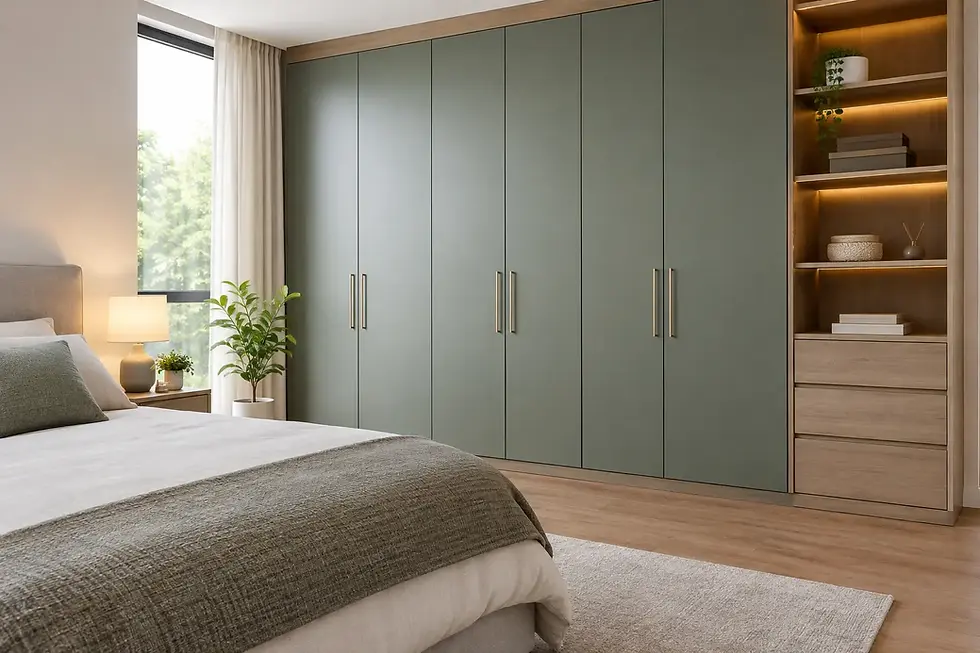
The visible transformation begins with a wardrobe designed to the exact dimensions of the room. Instead of asking the room to accommodate a ready-made unit, the furniture is made to follow the available space. That can mean a wall-to-wall run, storage built into an alcove, or a wardrobe that neatly meets a sloping ceiling.
The result is not simply more storage. It is storage that is easier to use every day. Double hanging can create room for more clothes without making the wardrobe deeper. Adjustable shelves can take folded knitwear, bags or spare bedding. Drawers keep smaller items contained, while a high-level section can hold seasonal items that do not need daily access.
Door choice changes the experience as well. Sliding doors are often a practical answer where there is limited clearance in front of the wardrobe, such as beside a bed. Hinged doors give full access to the interior and can suit wider rooms or layouts where open doors will not obstruct movement. Neither option is automatically better - the right choice depends on the room, the furniture around it and how the wardrobe will be used.
A made-to-measure finish also removes the narrow gaps that make a room look unfinished. Panels can be fitted neatly around features in the room, while the wardrobe’s height and proportions can be chosen to create a more balanced wall. This is why before and after photographs can look so dramatic even when the footprint has barely changed.
Start with how you live, not just how the room looks
A good wardrobe design begins with an honest look at what needs storing. A couple sharing one wall of storage will need a different arrangement from a child’s room or a guest bedroom. The answer is not always more rails or more shelves. It is a combination that suits the household.
Think about the items you reach for every week. Everyday clothing should sit at a comfortable height. Bulky duvets, luggage and out-of-season clothes can go higher up. If getting ready often involves jewellery, watches or accessories, drawers may be more useful than another shelf. If the room is used by two people, separate zones can stop one person’s belongings gradually taking over the whole interior.
It also helps to consider the future. Children’s storage needs change quickly, and a wardrobe that works for a young child may need more hanging space a few years later. Adjustable internal components offer flexibility, while a well-planned outer structure can remain part of the room for years.
The details that make the after photo feel finished
Colour and door style have a big effect, but they should work with the bedroom rather than chase a passing trend. A light finish can help a compact room feel more open. A warmer wood effect can bring character to a plain space. Mirrored doors can reflect light and remove the need for a separate full-length mirror, though they are not the right fit for every décor scheme or household.
Handles, profiles and framing deserve attention too. A simple, understated design may suit a contemporary bedroom, while a more defined door style can complement a traditional home. The aim is for the wardrobe to look intentional, not like a large object placed against the wall.
Lighting is another consideration. A wardrobe cannot solve poor overall lighting, but a well-planned room benefits when the front of the wardrobe does not block a window or make a dark corner feel heavier. On larger projects, internal lighting can make early mornings and darker winter evenings more practical. It depends on the layout and budget, but it is worth discussing during the design stage rather than after fitting.
What a managed installation changes
A polished before and after result is about more than the finished doors. Measurements need to be accurate, materials need to suit the design, and the installation must account for the realities of an existing home. Few walls are perfectly straight, and older properties often have their own quirks.
Working with one team from design through to fitting helps keep those decisions connected. At Slideaglide, the design-manufacture-install approach means the plan is shaped around the room from the beginning, rather than relying on separate suppliers to interpret it later. You can talk through practical priorities before production, from the storage layout to the final appearance.
There will still be decisions to make. Full-height fitted wardrobes provide maximum capacity and a built-in look, but a lower design may suit a room with a feature wall, picture rail or a preference for a lighter feel. Deep storage holds more, but it must not make a narrow room difficult to move around in. Bespoke design is valuable because these trade-offs can be resolved around the home, not around a standard product size.
Preparing for wardrobe installation
Before fitting day, clear the existing wardrobe and remove loose items from the immediate area. This gives the installation team room to work and makes it easier to assess any final details. If an old unit needs to be taken away, clarify this in advance so everyone knows what is included.
It is also sensible to protect nearby belongings and let the fitters know about anything unusual, such as a difficult parking arrangement, a recently decorated wall or a feature that needs particular care. The room will be worked in, so some short-term disruption is normal. The purpose of good preparation is not to make the process complicated, but to make the finished result feel straightforward.
When you look back at wardrobe installation before after photos, notice more than the change in colour or doors. Look at the clear floor space, the uninterrupted line of the furniture and the fact that every awkward inch now has a purpose. That is the kind of change that keeps paying back long after installation day.


Comments